
Milk stretching vs texturing explained starts with one useful distinction: stretching adds air, while texturing distributes that air through milk. Both happen during steaming, but controlling them separately helps you make foam suited to espresso drinks without relying on guesswork.
This guide covers the sequence, wand position, sound, temperature, and common corrections. For equipment context, browse our milk frother category; the right tool depends on whether you want steamed milk, foam, or both.
Stretching and texturing are stages of one steaming process, not competing methods. Stretching introduces air; texturing creates a consistent mixture of milk and fine bubbles, often called microfoam.
1. Understand what each stage changes
During stretching, the wand tip sits near the milk surface. Air enters in small amounts, increasing volume and forming bubbles; too much air creates stiff, dry foam.
Texturing begins as you lower the wand tip slightly and create a rolling motion. That movement breaks larger bubbles into smaller ones and blends foam with liquid milk for a glossy, pourable texture.
2. Choose pitcher size and milk volume
Use a pitcher large enough to leave room for milk expansion and swirling, but not so large that the wand cannot create a stable vortex. Starting with too little milk can make the wand draw in air unpredictably.
Fill to a level that suits your drink and pitcher, allowing headroom rather than filling to the rim. Pitcher shape, wand length, and batch size affect how easily you can keep the tip near the surface.
3. Position the steam wand deliberately
Begin with the wand tip just below the surface and slightly off-center. The goal is a controlled, gentle intake of air, not loud spluttering or a deep whirlpool that pulls air in continuously.
Once milk gains some volume, lower the tip enough to stop adding air while maintaining circulation. Small adjustments matter: a tip too deep may heat milk without enough foam, while a tip too high can create large bubbles.
4. Use sound and motion as feedback
A quiet paper-tearing or soft hissing sound can indicate gradual air intake. A harsh screech, repeated splashes, or loud gulping often signals poor positioning, though wand design and machine power affect the sound.
Look for a rolling motion that draws milk around the pitcher rather than a stationary patch of bubbles. If milk spins without incorporating air, adjust the tip slightly toward the surface; if bubbles grow, submerge it a little.
5. Stop at a suitable temperature
Milk temperature affects sweetness perception, texture, and comfort when served. Overheating can make milk taste less pleasant and reduce your room for controlled pouring, so stop steaming before it becomes excessively hot.
A thermometer can help beginners learn a repeatable endpoint; experienced users may judge by pitcher warmth, but that takes practice. Machine instructions take priority, and do not touch the hot wand or steam near skin.
6. Set foam level for the drink
Different drinks call for different milk textures. A cappuccino generally uses more foam than a flat white, while a latte needs integrated, fluid microfoam; definitions and serving conventions vary among cafes.
Do not chase a fixed volume increase without considering the drink and milk. For equipment that does not have a steam wand, compare options in our coffee accessories category, but remember that many standalone frothers create foam differently.
7. Clean immediately and correct one variable at a time
Wipe the wand with a damp cloth after steaming and purge it according to the machine manual. Dried milk can block the tip and create hygiene and performance problems; avoid soaking or cleaning methods the manufacturer does not permit.
If texture is poor, change one factor per attempt: tip depth, pitcher angle, air-intake duration, or milk volume. For cleaning products and care context, see our espresso cleaning tablets guide; wand cleaning still requires following your machine’s instructions.
Why You Should Trust Us
This guide explains established steaming principles rather than claiming hands-on tests or measured results. No product data was supplied for comparison, so we do not assign product rankings, specifications, or performance claims.
Recommendations here are technique-based and conditional on your equipment. Steam pressure, wand geometry, pitcher shape, milk type, and practice all affect results, so treat sound and visual cues as guidance rather than guarantees.
Final Thoughts
For espresso drinks, stretching means adding a controlled amount of air; texturing means distributing that air into fine, cohesive foam. The useful takeaway is sequence: introduce air early, then create circulation to integrate it before the milk overheats.
No products were supplied, so naming best overall, value, or specialty picks would require invented evidence. Choose equipment based on your drink habits, steaming controls, cleaning requirements, counter space, and budget; a separate frother may suit occasional foam, while a steam wand offers more direct control.
Practice with small, repeatable changes and clean the wand after every use. If you are choosing a separate device, our milk frother guide offers category context, but its recommendations should match your own needs.
FAQs
What is the difference between stretching and texturing milk?
Stretching introduces air into milk. Texturing circulates and blends the milk so that air becomes fine, even microfoam.
Which comes first, stretching or texturing?
Stretching comes first, usually while the wand tip sits near the surface. Lower the tip afterward to create circulation and integrate the foam.
How long should I stretch milk?
There is no universal time because machine power, pitcher size, milk volume, and drink style vary. Stop adding air when milk has expanded enough for your intended texture.
Why does my steamed milk have large bubbles?
The wand may be drawing in too much air, or circulation may not be breaking bubbles into smaller ones. Submerge the tip slightly and adjust its position to restore a controlled roll.
Why is my milk flat instead of foamy?
The tip may be too deep during the initial stage, limiting air intake. Keep it near the surface briefly, then lower it to texture the milk.
Does milk type change how texturing works?
Yes. Milk composition and formulation affect foam formation and stability, so results can vary between dairy and plant-based options and among brands. Adjust technique rather than assuming one setting works for every carton.
Can a handheld frother texture milk like an espresso wand?
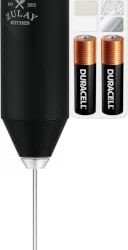
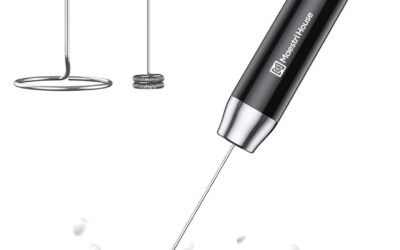
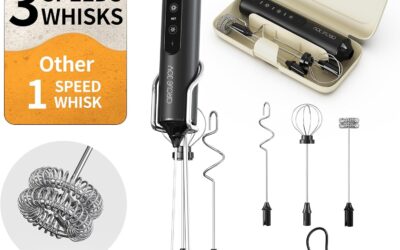
A handheld frother can add air, but its motion and heating method differ from a steam wand. It may make foam for home drinks, though it does not reproduce the same steaming process.
How can I improve milk stretching vs texturing explained in practice?
Practice the stages separately: first listen for controlled air intake, then focus on circulation and a glossy finish. Review our barista accessories category for tools that may support a consistent workflow.